

The Tutorial
The actually sewing of curtains is super simple, it is just four long straight stitches. The only tricky part is figuring out the measurement and dealing with so much fabric. These curtains are about as basic as you can get with curtains, so another great place to start. Though don't be intimidated by more complex curtains, it really is easier than you think. Hopefully I will be able to show you when I make curtains for our Seattle apartment.
The actually sewing of curtains is super simple, it is just four long straight stitches. The only tricky part is figuring out the measurement and dealing with so much fabric. These curtains are about as basic as you can get with curtains, so another great place to start. Though don't be intimidated by more complex curtains, it really is easier than you think. Hopefully I will be able to show you when I make curtains for our Seattle apartment.
The Measuring and Planning
So first off you will need to figure out how much fabric you need to get. The first step is to measure the height and width of your widow. I just bought the rest of the bolt as that is what got me the deal and the extra fabric will be used for my sisters birthday present.


Once you have the templates made you can start ironing the hem allowances. I started with the 1" double fold on the sides. Simply line up the fabric with the template and press.


The next step is you need to figure out what fullness ratio you want. As my sister would say the fullness ratio creates lots of pretty folds in the fabric. I used a 1 1/2 fullness ratio.
(Window width x Fullness ratio)/Number of desired panels = Width of Finished Panels.
(54" x 1.5")/2" = 40.5"
Window Height + any additional desired length = Height of Finished Panels.
50" + 2" = 52"
Then you need to factor in the hem allowance for all four sides. I added four inches to the top for a standard heading or rod pocket, six inches to the bottom for a thick hem that helps add weight to the bottom, and then two inches to each side. The picture below shows the hem allowances. When you add the hem allowances it gives you an unfinished dimension of 44.5" x 62".

Cutting the Panels Out
This can be kinda difficult when you live in a one bedroom apartment, but it is possible. I ended up putting my kitchen and desk tables together to create a larger work surface.
The first step is to figure out the width of your fabric and if you are going to need to piece your panels or not. My fabric was 54" wide so I did not need to piece my panels as the unfinished width was only 44.5". It is nice to not have to piece as this means less sewing and especially nice if you have a pattern that you have to match. So try to buy home decor fabric which is wider.
Now on to the cutting! The first step is to cut the salvage off giving you a nice clean cut. I usually just trim an inch off since it is easy to line up and see on the cutting board.
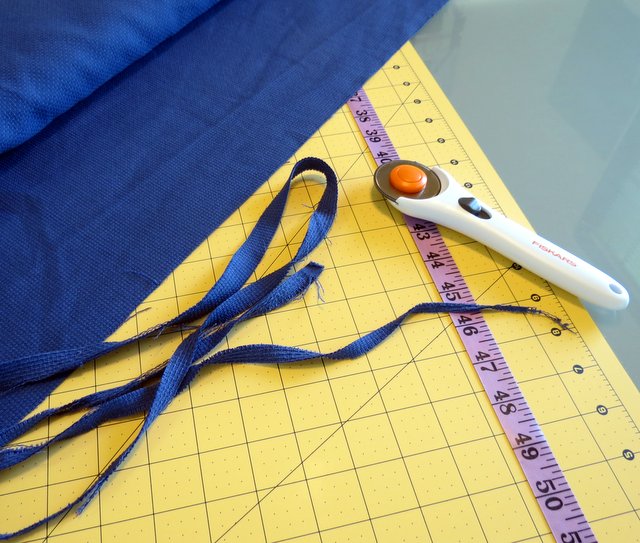
Now you are ready to measure, mark, and cut the length of your panel. I my case this was measuring out 62" of fabric which was too wide for my two tables so I laid the fabric out on my living room floor. I used my clear cutting ruler to measure 62" on both sides as it gave a nice straight edge and then marked a line with tailor's chalk across the fabric to follow when cutting.

I then followed the chalk line while cutting with my rotary cutter.

I now have a 54" by 62" piece of fabric and need a 44.5" by 62" piece of fabric, so I cut off 9.5" of the width of the fabric. Thus creating my first unfinished panel. Repeat this process for a second panel or use the first panel as a template for the second.
Finishing the Panels
The finishing these curtains is way simple, it only took me about 45 minutes for each panel.
Pressing
The first step is to create your double fold hems around each panel. This is the most time consuming part as the folds really need to be precise to create straight hems. Luckily I was taught an amazing time saver by my home decor professor. The trick is to create templates out of poster board or paper for your different hem sizes. This way you can simply place your template on your fabric and fold the fabric to line up with the template instead of measuring with a seam gage every few inches.
To create the templates I just used printer paper as that is what I had though next time I think I will invest in poster board because the paper curls with the heat and the steam. To make the templates you just simply use a ruler and measure out how many inches you need and cut them out. I taped two pieces of printer paper together to make them longer.


Then repeat for a second fold to create the double fold.

I would pin the double fold every four or five inches to make sure it stays while I pressed the other hems.

Then do the same thing for the top (2" double fold) and the bottom (3" double fold).
Top

Bottom

Sewing
This sewing is where it gets really simple just four straight edge stitches along the double fold hems you just created. So a stitch three inches from the bottom, two inches from the top, and one inch from each side while stopping two inches from the top to create an opening for the rod to go into.


And just like that you have your own custom curtains!!

If you have any questions please comment, and I will get back to you! I would love to hear if you found this useful! A hotpad tutorial is in the works next!!
No comments:
Post a Comment