Mending Tutorial
What you Will Need
- The garment you want to mend
- A piece of fabric that will go behind the hole. I used Singer's iron on patches that my Mom gave me years and years ago.
- Thread that matches the fabric very well. My thread does not match as well as it could as I was guessing without the shorts at Johanns.
- Sewing Machine with a bobin
- Iron and Ironing Board
Applying the Patch
The shorts I was mending actually had two holes on large one and one wear spot at the other pocket. I will show pictures of both.
The first step is to create a patch that is the size of the hole you are mending. For the first larger hole I just used the patch as is from the Singer packet, though in hindsight I would have trimmed it as well. For the second hole I cut out a small oval piece making sure to round the corners as this helps edges stay down.
Applying the patch is really simple. I followed the instructions for the Singer patches. It said to first heat the area where you are going to apply the patch. You are applying the patch on the inside of your garment so turn your garment inside out.
Then carefully place the patch over the hole with the sticky side (shinny side) down.
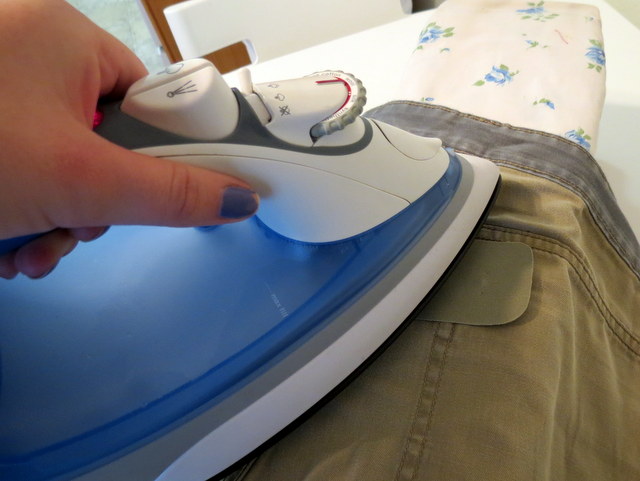
Then place the iron on the patch and hold it there for the time prescribed on your patch instructions usually 5-10 seconds.
Securing the Hole with Stitching
For the stitching part you with turn the garment right side out. The most important factor in creating a nice looking mend is to stitch with the grain line. This means staying parallel to the woven threads of the fabric. Start stitching on the edge of the hole with a normal stitch length (2.5) with your pressure foot parallel to the grain line. Sew to the end of the hole then back stitch right next to the line of stitching you just created, continue sewing backwards and forwards with close lines of stitching until the entire hole is sewn over.
And you are done!!!
It is really quite fast only took me about an half an hour.
Please comment if you have any questions or if you found this useful! And follow if you are interested in other sewing tutorials. A curtain tutorial is in the works!


No comments:
Post a Comment